Rubi
Rubi

Gallery (19)
Photo © The Shock Company
Photo © The Shock Company
Photo © The Shock Company

Photo © The Shock Company
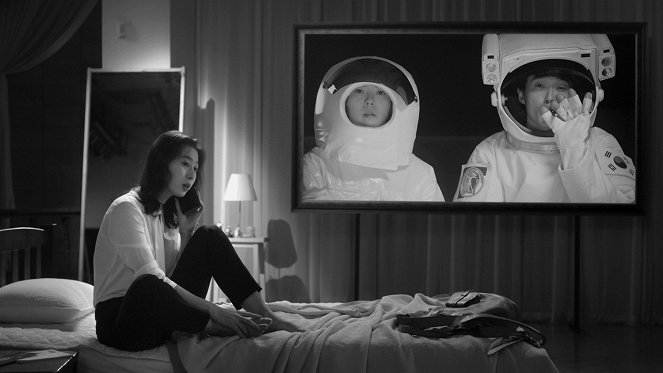
Photo © The Shock Company
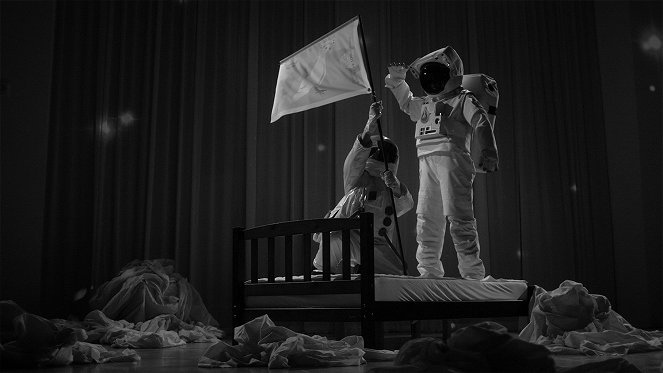
Photo © The Shock Company
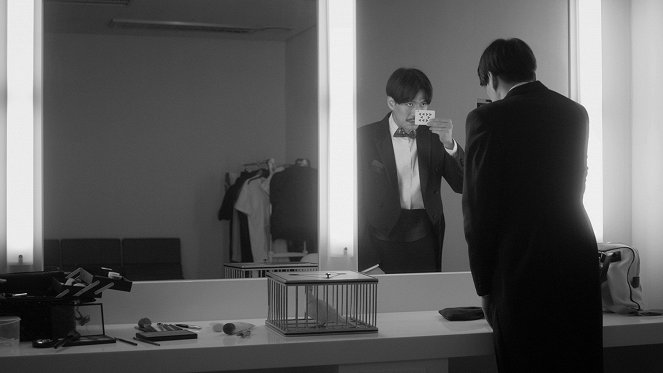
Photo © The Shock Company

Photo © The Shock Company
Photo © The Shock Company
Photo © The Shock Company
Photo © The Shock Company
Photo © The Shock Company
Photo © The Shock Company
Photo © The Shock Company